Walk-In Shower Ideas: Sizes, Splash Control, Slope, Drains and Waterproofing
A walk-in shower has no tub and often no door. You step in, shower and step out. It looks open and modern, makes a small bathroom feel larger and is easier to use if getting over a tub edge is hard. But “no door” brings design questions: how big must it be, how do you stop water from escaping, and how do you build the floor so it drains?
This article is part of our shower guide, where you can compare related options.
A walk-in shower is a shower you enter without stepping over a tub wall. It can have a low curb, no curb at all (curbless) or a fixed glass panel in place of a door. This guide covers layout ideas, minimum sizes, splash control, the floor slope, drain choices and waterproofing. It draws on contractor and retailer guides, so numbers vary. Always check local building code before you build.

Walk-In Layout Ideas
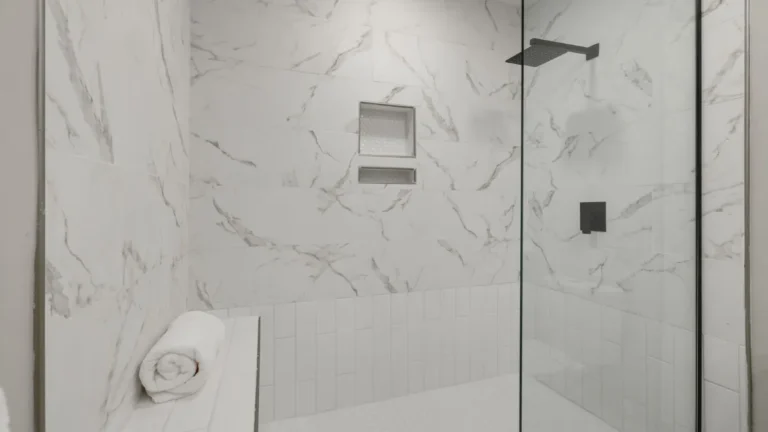
Doorless with a fixed glass panel: one glass panel blocks the main spray, and the rest of the opening stays open. This is the most common walk-in look. See the shower door guide for glass thickness. Curbless (zero-threshold): the shower floor is level with the bathroom floor. It feels seamless and is easier to enter. It needs the subfloor lowered and careful sloping, so it is more work to build. S-shaped or baffled entry: walls create a bend at the entry so water cannot spray straight out. One source says the walls act as baffles for splash. Corner walk-in: uses a corner with one glass panel. Walk-in with a bench: adds a seat inside. See the shower bench guide. Walk-in with a niche: built-in shelves for bottles. See the shower niche guide. Linear drain design: a long drain along one wall lets you use large tiles with a single slope.
| Idea | Look | Build difficulty |
|---|---|---|
| Fixed glass panel | Open, modern | Medium |
| Curbless | Seamless | Higher |
| Baffle wall entry | Door-free | Medium |
| With bench/niche | Spa-like | Medium |
How Big Should It Be?
One guide gives a 30 by 30 inch code minimum for a basic stall. Another calls 36 by 36 inches a comfort minimum recommended by the National Kitchen and Bath Association. A third says a comfortable doorless design needs a practical footprint around 42 inches wide by 60 inches long. For wheelchair access, one source puts the requirement at at least 60 by 60 inches.
For a doorless walk-in, bigger is usually better, because a larger footprint holds more water and lets you stand away from the opening. Check local code and, if needed, accessibility standards.
Controlling Splash
A doorless shower can leak water onto the bathroom floor. These tactics help: Place the shower head away from the opening. Aim it toward the back wall. Add a fixed glass panel that covers the spray zone. Use a gentler shower head to reduce spray force. See the best shower heads guide. Install splash guards at the corners or edges. Make the shower longer, not wider. A deeper footprint keeps water inside. Slope the bathroom floor away from the opening. One source says the floor outside the shower should slope about 1/8 inch per foot back toward the shower to catch overspray. Keep the opening narrow if you can.
A walk-in is not the best choice for a very small bathroom if you want the floor to stay completely dry. In that case, a shower with a door or curtain may be better. See the shower curtain rod guide.
Floor Slope and Drains
Water must flow to the drain. The consistent figure in my sources is a slope of about 1/4 inch per foot toward the drain. A shallow slope can leave puddles, and a steep slope feels awkward underfoot.
Center drain: a single drain in the middle. The floor slopes in from all sides. It is common and works with small tiles. Linear (trench) drain: a long drain along one wall or at the entrance. The floor slopes one way, so large tiles work well. Wall-side drain: a drain along the back wall.
Plumbing codes often require a larger drain for a shower than for a tub, so confirm the requirement locally with your plumber. Choose a drain cover with a style that matches your fixtures.
Waterproofing
Waterproofing is the most important part of the build. A leak behind the tile can rot the subfloor and walls before you ever see it.
One source says waterproofing should extend at least 12 inches beyond the shower edge on all sides. Another notes that many installers extend the membrane some distance into the bathroom floor so occasional splash does not reach the subfloor. These figures vary, so follow the membrane maker’s instructions and local code. Use a waterproof membrane system on the floor and walls, not just tile and grout. Grout is not waterproof. Seal corners, niches, benches and drain connections carefully. Test for leaks before tiling, if the system allows. Many installers flood-test the pan. Hire an experienced tile setter. This is not a place to guess.
For curbless showers, one source discusses framing drops, meaning the subfloor is lowered so the shower floor can slope while staying level with the bathroom. Ask your contractor how much the floor needs to drop.
Materials and Finishes
Large-format tile gives fewer grout lines but needs a skilled installer, especially on a sloped floor. Mosaic tile on the shower floor follows slopes more easily and has more grout for grip. Textured or honed tile helps avoid slipping. Solid-surface and stone slabs give a seamless look. Glass: thick tempered glass for panels. Fixtures: matte black, chrome or brushed nickel. Keep the finish consistent.
See the how to clean shower tiles guide for upkeep.
Lighting, Ventilation and Warmth
An open shower puts steam into the whole room, so a good exhaust fan is important. Add a moisture-rated light fixture over the shower. Consider heated floors if you want a warm step-out.
Cost and Planning
I found no reliable cost figures in my sources, so ask contractors for quotes. Costs depend on size, tile, glass, drain and whether you lower the subfloor. Curbless showers usually cost more because of the extra labor.
What mistakes should you avoid?
A few common mistakes are worth avoiding: making the shower too small for a doorless design (water escapes); aiming the shower head at the opening; poor slope or a flat spot (water pools); cutting corners on waterproofing; using slippery tile; skipping ventilation; forgetting to check local code.
How to Plan Your Walk-In Shower
Measure the space and decide on size. Choose a layout: fixed panel, curbless or baffle entry. Plan the shower head and controls away from the opening. Pick a drain type. Plan the slope and waterproofing. Choose tile and fixtures. Add a bench, niche or both. Plan ventilation and lighting. Check local code and permits. Hire an experienced installer.
Frequently Asked Questions
How big should a walk-in shower be?
A 30 by 30 inch code minimum, 36 by 36 inches for comfort and about 42 by 60 inches for a comfortable doorless design. Larger is better for doorless showers.
Do walk-in showers leak water onto the floor?
They can. Aim the shower head away from the opening, add a glass panel and slope the floor correctly.
What slope does a shower floor need?
About 1/4 inch per foot toward the drain, according to my sources.
What is a curbless shower?
A shower with no step, level with the bathroom floor. It needs the subfloor lowered and careful waterproofing.
Are walk-in showers hard to waterproof?
They need careful work. Follow the membrane maker’s instructions and use an experienced installer.
Is a walk-in shower good for small bathrooms?
It can make a small room feel larger, but splash control needs planning.
Conclusion
A walk-in shower is a clean, open and accessible choice, but it is only as good as its plan. Choose a size that fits, control splash with layout and glass, slope the floor correctly and put real care into the waterproofing.
Check local code, ask for quotes and hire a skilled installer. With a good plan, a walk-in shower can be both beautiful and trouble-free.
Related guides
 Walk-In Shower: Sizes, Doorless Designs, Waterproofing and CostA walk-in shower is a shower you can step into without climbing over a tub wall. It can be open, with no door…Read more →
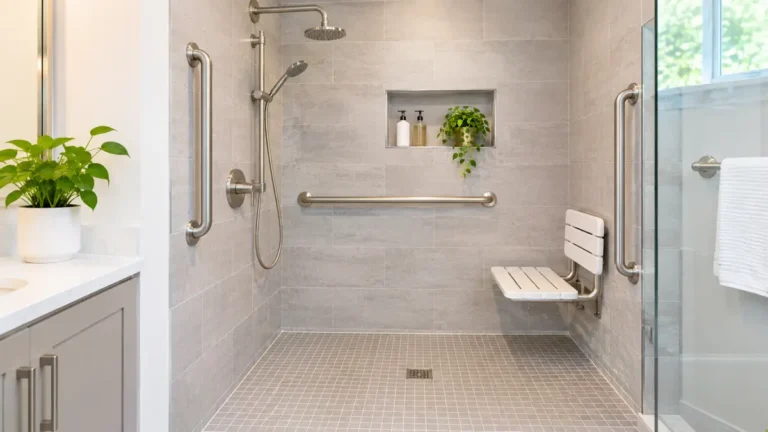 Roll-In Shower: Size, Threshold, Slope and What Accessibility Rules Usually RequireA roll-in shower is a shower with no curb, so a person using a wheelchair can roll straight in. Vendors…Read more →
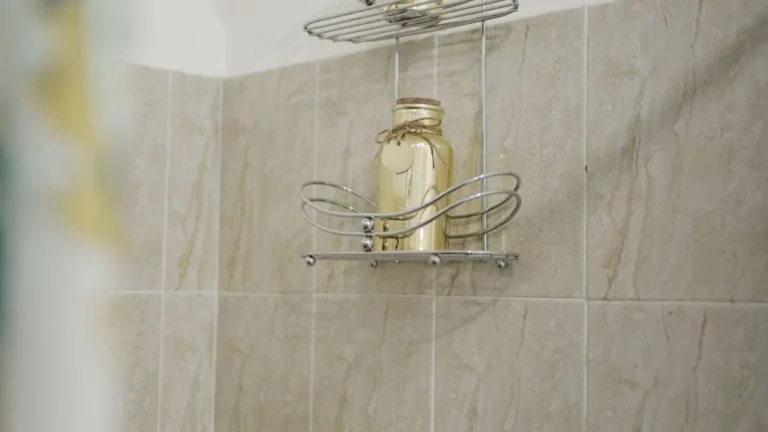 Shower Shelf: Tension Pole, Adhesive and Built-In Types, Weight and RustThere are three main types of shower shelf: tension-pole caddies, adhesive-mounted shelves and glued-in or…Read more →
 Walk-In Bathtub Guide: Costs, Slow Filling, Leaks, Medicare Coverage and SafetyQuick answer: a walk-in bathtub has a watertight door in the side so you step in instead of climbing over the…Read more →