
How to Fix a Leaking Shower Head: Causes and Step-by-Step Repairs
A dripping shower head wastes water, stains the tub and keeps you awake at night. The good news is that most leaks are easy to fix. The first step is to figure out where the water is coming from and when it drips.
This article is part of our bathroom cleaning and mold prevention guide, where you can compare related options.
To fix a leaking shower head, find the cause. A leak at the connection to the pipe is usually a loose fitting or worn plumber’s tape. A drip from the head after you turn the water off can come from a worn washer, a bad cartridge or a clogged head. Cleaning, retightening and replacing small parts fixes most problems.
This guide explains the common causes, shows how to fix each one and tells you when to call a plumber. You’ll also find a comparison table and answers to common questions.
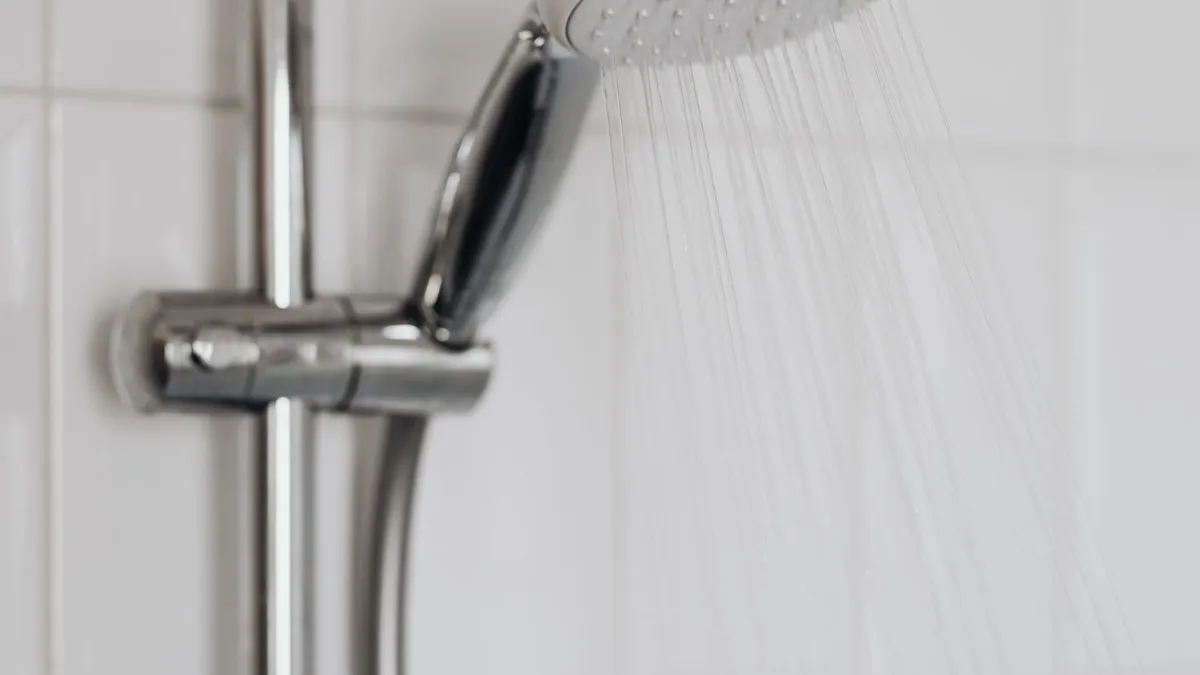
Is It a Real Leak or Normal Dripping?
Some dripping right after you shut off the water is normal. After you turn off the handle, the shower head holds some water. That water drains out over a minute or so. It’s not a leak.
A real leak is steady. It drips for a long time after the shower is off, or you see water at the pipe connection, on the wall or under the handle. If the drip keeps going for hours, you have a problem to fix.
Common Causes of a Leaking Shower Head
| Where is the leak? | Likely cause |
|---|---|
| At the joint where the head meets the arm | Loose fitting or worn plumber’s tape |
| Dripping from the head when off | Worn washer, chipped seat or bad cartridge |
| From the head’s face or body | Mineral build-up or a cracked head |
| Around the handle | Worn cartridge or seals |
| From the shower arm in the wall | Loose arm or a pipe thread seal problem |
Before You Start
Shut off the water. It’s good practice to turn off the water supply before plumbing work, even for a small job. Use the shut-off valve for the shower, or the main valve. Protect the tub. Lay a towel on the tub floor so you don’t scratch it if you drop a tool. Gather tools. A cloth, adjustable wrench, plumber’s tape (PTFE tape), white vinegar, a small brush and, for handle repairs, a screwdriver and replacement parts.
Fix 1: Clean the Shower Head
Bob Vila suggests cleaning the shower head and handle before anything else, since removing built-up minerals and residue may clear what’s causing the issue.
- Unscrew the shower head by hand. If it’s tight, wrap a cloth around it and use a wrench gently.
- Soak the head in white vinegar for a few hours. Check the care label first, since vinegar can damage some finishes like brass or matte black.
- Scrub the nozzles with a soft brush or a toothpick.
- Rinse the head and put it back.
A clean head drains better and may stop the drip.
Fix 2: Tighten the Connection and Replace the Tape
If the leak is where the head meets the shower arm, the fitting may be loose or the seal may be worn. One source says a leak at the joint may be a loose fitting or a failing pipe thread seal.
- Unscrew the shower head.
- Remove old tape from the threads on the shower arm.
- Wipe the threads clean.
- Wrap fresh plumber’s tape around the threads. Go in the same direction the head screws on (clockwise when looking at the end of the arm), two or three wraps.
- Screw the head back on by hand. Give it a small extra turn with a wrench, wrapped in a cloth. Don’t overtighten.
- Turn on the water and check for leaks.
Most leaky shower heads can be fixed by making the connection tight.
Fix 3: Replace a Worn Washer or Seat
If water drips from the head when the shower is off, the problem may be inside the valve. One source says a drip with the valve closed is typically a worn faucet washer or a chipped faucet seat, which lets water pass even when the faucet is turned off. Another says the washer needs to be replaced in most cases.
Steps vary by valve type, so check the maker’s guide. In general:
- Shut off the water.
- Remove the handle. Pry off the cap, unscrew the handle and slide it off.
- Remove the trim plate and any other covers.
- Take out the stem or valve parts. Use a wrench if needed.
- Replace the washer and seat with matching parts. Take the old parts to a hardware store to match them.
- Reassemble in reverse order.
- Turn the water back on and test.
Fix 4: Replace the Shower Valve Cartridge
Single-handle valves use a cartridge. A worn or damaged cartridge allows water to bypass the shut-off mechanism. The usual fix is to replace the old cartridge with an identical new one.
- Shut off the water.
- Remove the handle and trim plate.
- Pull out the retaining clip or screw that holds the cartridge.
- Pull out the cartridge, using pliers if needed. Note how it sits.
- Install the new cartridge in the same position.
- Replace the clip, trim and handle.
- Turn on the water and test.
Buy a cartridge that matches your brand and model. Photograph the old one and note the brand on the handle. If you can’t identify it, a plumber can help.
Fix 5: Replace the Shower Head
A leak from the seam in the head’s face or body can’t be repaired. If the head is cracked, corroded or leaking from the body, replace it. A new head is low in cost and easy to install. Pick a head with the flow rate and spray type you like.
When to Call a Plumber
Call a plumber if: The leak is inside the wall, or you see water stains on the ceiling below. You can’t shut off the water. The valve parts are corroded or won’t come apart. You aren’t sure which cartridge or parts you need. The leak continues after you’ve tried the fixes above. You see mold or soft wall materials, which may mean water damage.
How to Prevent Shower Head Leaks
Key points: clean the head every few months to stop mineral build-up; use plumber’s tape on every threaded connection; don’t overtighten the head; replace worn parts before they fail; check for drips once a month; think about a water softener or filter if you have hard water.
Frequently Asked Questions
Why is my shower head dripping when it’s off?
A little dripping right after shutoff is normal. A steady drip may mean a worn washer, a chipped seat or a bad cartridge.
How do I stop a leak where the shower head meets the pipe?
Unscrew the head, replace the plumber’s tape on the threads and retighten by hand, then a small turn with a wrench.
How do I replace a shower cartridge?
Shut off the water, remove the handle and trim, pull out the retaining clip and old cartridge and install an identical new one.
Do I need to turn off the water to fix a shower head?
For a simple head swap, many people do it without shutting off the water, but it’s good practice to shut off the supply before any plumbing work.
Can mineral build-up cause a leak?
Yes. Minerals can clog the nozzles and affect how the head drains. Soak the head in vinegar and scrub it.
How much does it cost to fix a leaking shower head?
A new head, tape or washer costs little. A cartridge costs more. A plumber will charge for labor. Prices vary by area.
Conclusion
Most leaking shower heads come down to a handful of causes: trapped water, minerals, a loose connection, a worn washer or a bad cartridge. Start with the simplest fix, cleaning the head and replacing the tape, and move on to the valve parts if the drip continues.
Shut off the water before you work, replace parts with exact matches and call a plumber if the leak is in the wall or you aren’t sure what to do. A little time can stop the drip and save water.
Related guides
 Shower Squeegee Guide: How to Use It Daily, Prevent Mold and Hard Water Spots, Blade and Handle TipsQuick answer: a shower squeegee removes water from glass, tile and fixtures right after you shower, before it…Read more →
 Eucalyptus in the Shower: How to Hang It, How Long It Lasts, Benefits and SafetyQuick answer: tie a bundle of fresh eucalyptus stems together and hang it from the shower head or a hook where…Read more →
 Pink Mold in Shower: It’s Usually Bacteria, Not Mold. Causes, Safe Cleaning and PreventionThe pink slime in your shower is usually not mold at all. It is most often a bacterium called Serratia…Read more →
 Best Shower Heads: Flow Rate, WaterSense, Rain vs Handheld and How to ChooseA shower head is one of the cheapest upgrades in a bathroom, and one of the most noticeable. A good one gives a…Read more →

2 Comments