Cat Wall Shelves Guide: Mounting Into Studs, Weight Capacity, Spacing and Safe Climbing Paths
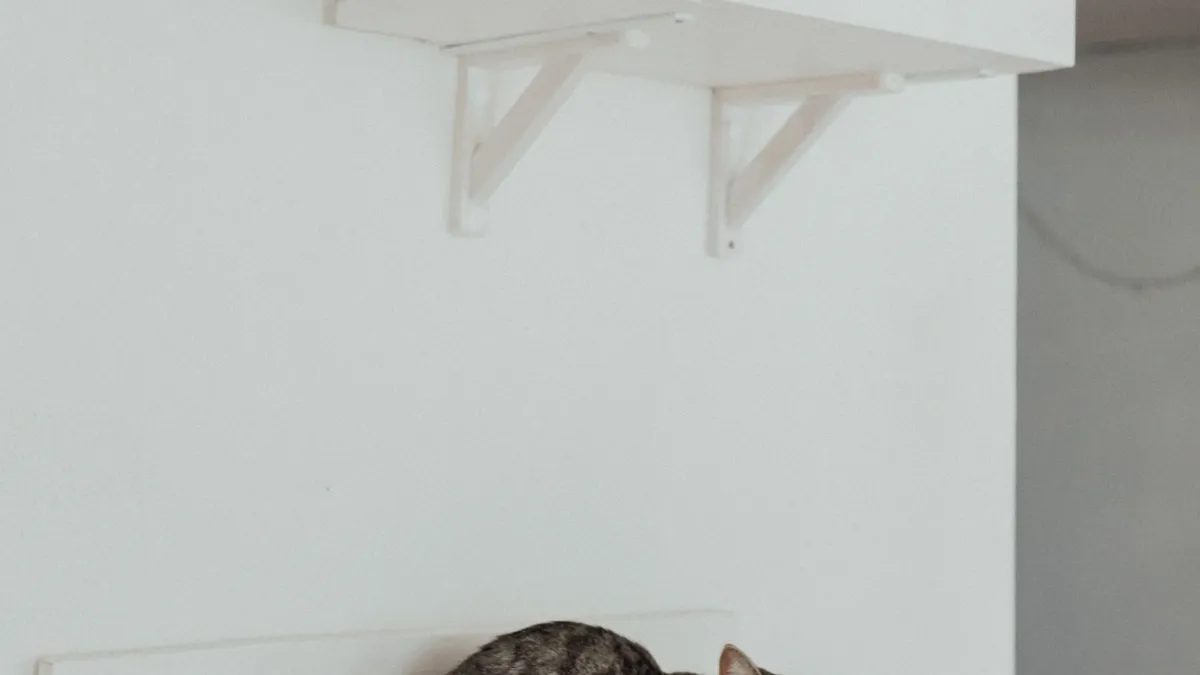
Cats love to be up high. A perch near the ceiling gives them a view of the room, a safe place to rest and a way to burn energy. Cat wall shelves let you give your cat that world without a large cat tree taking over your floor. They can turn a blank wall into a climbing path, a lounge and a watch tower.
This article is part of our cat furniture guide, where you can compare related options.
But a cat shelf is also a structure that must carry a jumping, landing animal. A shelf that pulls out of the wall can hurt your cat. This guide explains how to mount cat shelves safely, how to think about weight capacity, how to space shelves for easy jumping, what materials to choose and how to design a path your cat will actually use. I found no veterinary or engineering standard for these numbers, so treat them as conservative starting points and ask your vet about your cat’s health and mobility.
Why Cat Wall Shelves?
Saves floor space. Ideal for small apartments. See the cat trees guide for floor options. Gives vertical territory. Cats feel safer up high. Creates exercise. A climbing path encourages movement. Reduces conflict. In multi-cat homes, extra perches reduce tension. Matches your decor. Shelves can look like real wall shelves. Keeps cats off counters and furniture by giving them a better spot.
Mounting: Studs, Not Drywall
To anchor into studs, not drywall alone. One retailer’s guide says drywall cannot support a large cat’s weight, and that studs spaced 16 inches apart provide the solid anchoring points you need.
Mounting recommendations from the sources: Screws into studs. One source recommends screws penetrating at least 1.5 inches into the stud. Rated hardware. Another recommends hardware rated for at least 50 pounds per mounting point. Lag bolts. A third suggests lag bolts rather than standard screws for larger breeds or multi-cat households. Find the studs. Use a stud finder, and mark the centers. Check what is behind the wall. Avoid pipes and wires. Level the shelves. Test the mount. Apply load before letting your cat use it. Press down firmly and check for flex.
See the corner shelves guide for general notes on studs and anchors. If you rent, ask your landlord, because screw holes are required.
Weight Capacity and Safety Margins
The recommended safety margins differ across sources.
One source suggests shelves rated for 1.5 to 2 times your cat’s body weight to account for jumping force. Another advises a 2:1 safety factor: if your cat weighs 12 pounds, ensure a 24-pound rated capacity. A third recommends hardware rated for at least three times your cat’s weight per mounting point.
Listing figures are product-specific. For example, one listing describes a shelf as holding up to 50 pounds when mounted to studs, while another guide claims 25 to 50 pounds for quality shelves.
Material also matters. Solid hardwood handles dynamic loads better than MDF or particleboard, which can crack under sudden impact.
Take the largest cat in your home, multiply for jumping force and choose a shelf that exceeds it by a clear margin. Large breeds like Maine Coons need stronger shelves than small cats.
Shelf Spacing and Climbing Path
Vertical gaps of about 12 to 18 inches are common advice. One guide says to maintain 12 to 18 inches of vertical spacing between shelves for comfortable jumping, with less for kittens or seniors and more for athletic adults. For heavier or older cats, another source recommends 10 to 14 inches apart vertically and 12 to 16 inches horizontally. Closer spacing reduces jumping impact and is safer for heavier or older cats. Gaps larger than about 24 inches are considered risky.
Tips for a good path: Start low. The first shelf should be easy to reach from the floor, using a chair or a sofa. Stagger the shelves in a zigzag, so the cat can climb up and down. Create loops so cats can circle and not get trapped. Add a resting platform at the top. Consider bridges between shelves. Plan exits. A cat should be able to get down from every shelf in two ways. Keep the path away from fragile items and electronics. Don’t place shelves directly above furniture a cat cannot clear safely.
For senior or disabled cats, use lower, closer shelves, and ask your vet.
Shelf Size and Shape
Depth. Deep enough for the cat to sit and turn. Many shelves are 10 to 14 inches deep. Large cats need more. Width. Wide enough for a cat to lie down. For multi-cat shelves, add width. Lip or rail. A small edge can help cats feel secure. Non-slip surface. Carpet, sisal or felt pads give grip. Slippery wood can make landing risky. Rounded corners. Beds and hammocks. Some shelves have a cushion or a hammock.
Materials
Key points: solid hardwood. Strong and stable; plywood. Strong if good quality; MDF and particleboard. Can crack under impact; carpet-covered shelves. Good grip; sisal and rope. For scratching, but can fray; metal brackets. Strong. Look for solid steel; non-toxic finishes. Cats lick and scratch.
See the wood coffee table and wood dresser guides for wood types and finishes.
Safety Checks
Key points: check mounts regularly. Tighten screws every few months; check for wobble; replace worn carpet or sisal; watch for fraying that could catch claws; supervise at first. Let your cat explore at their own pace; keep cords and blinds away; don’t force the cat. Use treats and toys; make sure surfaces are not slippery; avoid placing shelves near ceiling fans.
If your cat has joint problems, ask your vet.
Design and Styling
Key points: match your decor. Choose wood tones or colors to blend in; use shelves as a feature. A group of shelves can look like wall art; combine with plants (cat-safe ones only) or books; hide cables and cat items; add scratching posts; keep it clean. Vacuum shelves and wash covers.
If you also want regular shelves for books, keep them separate from cat shelves. See the small bookshelf guide.
What are the main strengths and weaknesses?
On the plus side: saves floor space; gives cats exercise and a view; fits many styles; can reduce stress in multi-cat homes. On the downside: requires drilling into studs; must be installed correctly; not all cats use them; heavy cats need stronger installs; hard to move once installed.
How to Plan Cat Wall Shelves
Weigh your cats and note the largest. Find studs and plan the layout. Choose strong shelves with a rating well above the cat’s weight. Plan spacing: about 12 to 18 inches vertically for most cats. Use hardware rated for the load. Install, test and re-check. Introduce your cat slowly. Inspect regularly.
What mistakes should you avoid?
A few common mistakes are worth avoiding: mounting into drywall only; using MDF for heavy cats; spacing shelves too far apart; skipping the load test; not providing an easy way down; using slippery surfaces; ignoring older cats’ needs.
Frequently Asked Questions
Can cat shelves be mounted into drywall?
Studs are needed for large cats. Drywall alone cannot support a large cat’s weight.
How much weight should a cat shelf hold?
A rating of 1.5 to 3 times the cat’s weight. There is no official standard.
How far apart should cat shelves be?
About 12 to 18 inches vertically for most cats. Gaps above about 24 inches are considered risky.
What material is best?
Solid hardwood handles impact better than MDF or particleboard.
Will my cat use the shelves?
Many do. Use treats and toys, and start with an easy path.
Can I use cat shelves in a rental?
They need screws into studs, so ask your landlord.
Conclusion
Cat wall shelves give your cat a high, safe place to play and rest while saving floor space. Anchor into studs, choose shelves with a strong weight rating, space them for easy jumping and give your cat an easy way down.
Test the mounts and check them often. With a careful install, your cat gets a favorite perch and you get a wall that works for both of you.
Related guides
 Water Fountain for Cats: Stainless Steel vs Ceramic, Noise and CleaningA cat water fountain keeps water moving and filtered, which some cats like better than a still bowl. Stainless…Read more →
 Heated Cat House Guide: Outdoor Shelters, Heated Pads, Thermostats, Wattage and Cord SafetyQuick answer: a heated cat house is an insulated shelter with a heating pad or heater for outdoor or feral cats…Read more →
 Cat Window Perch Guide: Suction vs Mounted, Weight Limits, Installation and SafetyQuick answer: a cat window perch is a small shelf or hammock that holds your cat at a window. Suction cup…Read more →