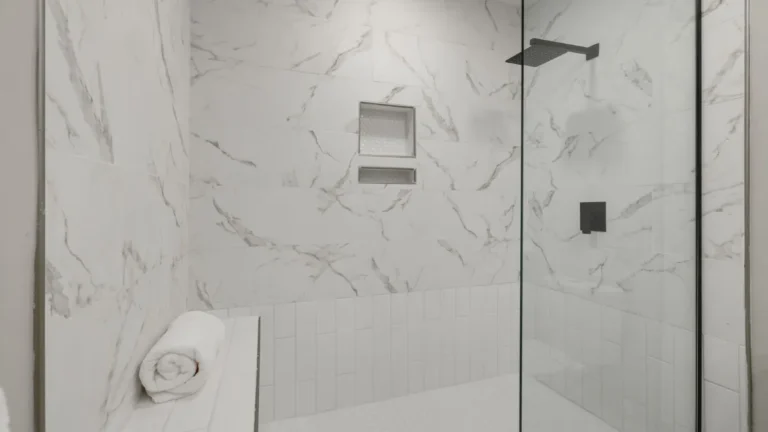
Curbless Shower Guide: Floor Slope, Linear Drains, Waterproofing, ADA Threshold and Cost Factors
Quick answer: a curbless (zero-entry or barrier-free) shower has no raised edge, so the bathroom floor flows into the shower. It needs the shower floor sloped about 1/4 inch per foot (roughly 2 percent) toward the drain, a drain bonded to a compatible waterproofing membrane, full wet-area waterproofing and usually a lowered subfloor. It costs more than a standard pan shower, and local code and accessibility rules decide details.
This article is part of our shower guide, where you can compare related options.
A curbless shower looks clean, is easy to enter and works well for aging in place and wheelchair access. But it is one of the most technical bathroom projects, because water must go to the drain with no curb to stop it. The failure risk is waterproofing. This guide explains how a curbless shower works, slope, drains, thresholds, waterproofing, cost factors and when to hire a pro. This is not construction, code or accessibility advice. Confirm with your permitting office and a licensed contractor.
What Is a Curbless Shower?
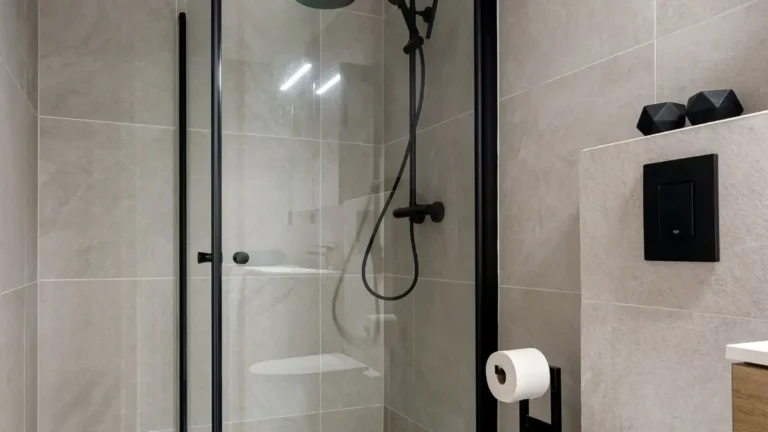
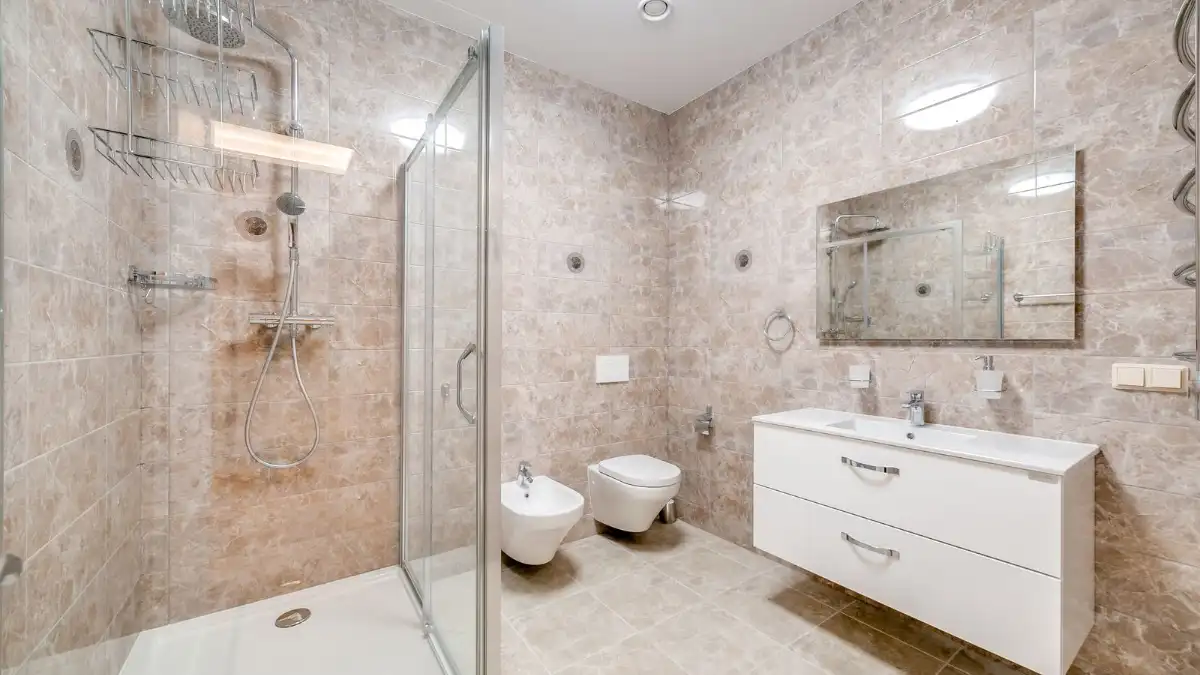
Also called zero-entry, walk-in or barrier-free. There is no step or curb at the shower entrance. The floor slopes inward. Types: Tiled curbless shower with a linear drain. Tiled curbless shower with a point drain. Prefab roll-in shower pan with a low threshold. See the shower pan sizes guide. Wet room. The whole room is waterproofed and slopes to the drain.
A curbless shower usually needs the subfloor lowered or recessed, which can be easier during new construction or remodels.
Floor Slope
Sources give: About 1/4 inch per foot toward the drain, per one source. 2 percent (roughly the same). Noble’s barrier-free article puts the requirement at 1/4 to 1/2 inch per foot to the drain.
Too little slope causes puddles, and too much feels steep. Large tiles need a flat plane, so linear drains help. A single-slope design (one direction toward a wall-side linear drain) is easier for large tile.
Drain Choices
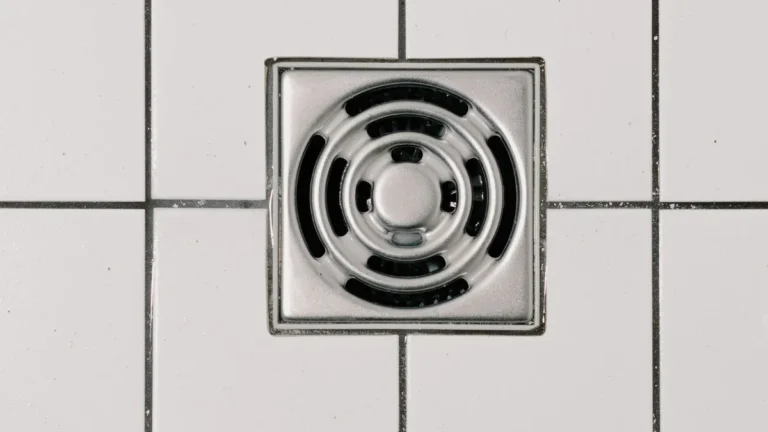
Linear Drains
Linear drains are the most common choice for curbless designs, though they generally cost more than standard drains. Their advantage is that they are easier to slope and accommodate large tiles. The trade-off is careful waterproofing required at the linear channel. A wall-to-wall drain at the threshold is the recommended drain placement for a shower of this size when there is no curb, per one source.
Point (Center) Drains
A standard center drain works but requires four-way slope to the center, which is harder with large tiles.
Compatibility
Confirm the drain is compatible with your chosen membrane, since not every linear drain works with every topical waterproofing type. A drain merely mortared over a membrane leaks at the join, so the drain should be bonded to the membrane. Infinity Drain, Oatey and others make systems for this.
Threshold and Accessibility
Sources and listings say: Noble’s article says the ADA mandates a maximum height of a threshold of 1/2 inch. Prefabricated ADA roll-in pans cite a 3/4 inch low-profile threshold that is designed to meet 1/2 inch above finished floor ADA requirements when properly installed, so the threshold height is usually a product-and-install question. One source says plumbing codes state that the threshold (or high point) in a shower must be at least 2 inches above the drain. Another notes that in many places local codes stick close to ADA guidelines, and one claims some towns cap the threshold at 1/4 inch where the door swings in. That last claim is anecdotal, so verify it locally.
I could not confirm these against the 2010 ADA Standards or your local code. Accessible-shower dimensions differ for roll-in and transfer showers. Ask your permitting office and an accessibility professional.
Waterproofing: The Main Risk
Waterproofing is the main failure risk.
Waterproofing should extend beyond the immediate shower area wherever surfaces may be exposed to water. Use a continuous membrane (sheet or liquid) rated for showers, bonded to the drain. Seal wall-to-floor transitions and corners. Flood test before tiling, as the manufacturer instructs. Use compatible products from one system.
A Flooring Clarity guide covers zero-entry tile shower design, and ProBuilder lists seven systems for constructing a curbless shower. A poorly waterproofed curbless shower can leak into the floor and walls. Hire a skilled installer.
Preventing Water Escape
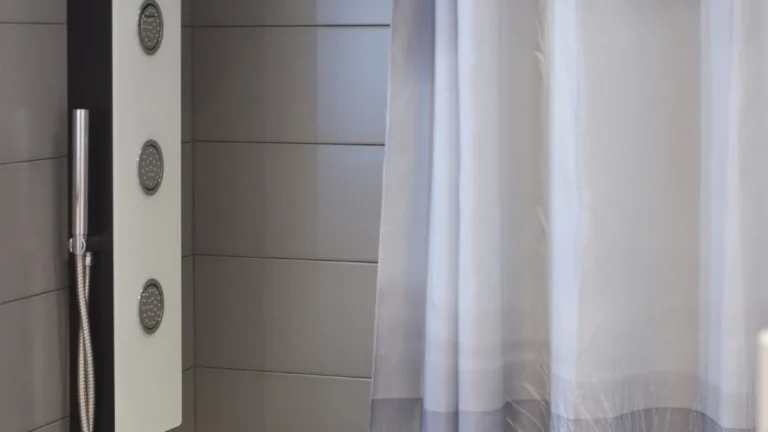
With no curb, water can splash out. Options: a fixed glass panel or a half wall; a shower curtain track. See the shower rod guide; place the showerhead toward the drain; extend the sloped area beyond the shower; a bathroom floor drain or a slight slope out of the wet zone.
Plan the layout with a pro.
Cost Factors
Figures vary a lot by source, region and year: Linear drain components: one source lists $350 to $850, another $100 to $500 (from a 2012 article) and a third says prices start at $225. Point drain components: around $80 to $200 in one guide. One Quebec-focused estimate for a 3 by 5 foot shower breaks out lowering the floor at $500 to $1,200, membranes and linear drain at $600 to $1,300 and specialized labor at $800 to $1,500, before tile and finishes. Hidden costs: relocating plumbing to convert to a linear drain can add expense, and one source suggests budgeting a contingency for subfloor reinforcement or plumbing relocation.
I treat all figures as rough. Get local quotes. See the bathroom remodel cost guide for broader budgets.
When to Hire a Pro
Key points: lowering the subfloor or notching joists; moving plumbing; waterproofing and flood testing; meeting accessibility code; permits.
A curbless shower is a poor DIY project for beginners.
What are the main strengths and weaknesses?
On the plus side: easy entry and a clean look; good for accessibility and aging in place; easy to clean; makes small bathrooms feel larger. On the downside: more expensive than a standard pan; complex waterproofing; needs floor lowering; water can escape if poorly designed; code requirements vary.
How to Plan a Curbless Shower
Check local code and permit rules. Check floor structure and joists. Decide drain type: linear or point. Plan slope (about 1/4 inch per foot). Plan waterproofing with a compatible system. Plan threshold and accessibility needs. Plan splash control. Budget with a contingency. Hire licensed pros. Flood test.
What mistakes should you avoid?
A few common mistakes are worth avoiding: not bonding the drain to the membrane; skipping the flood test; too little slope; ignoring local threshold rules; not waterproofing beyond the shower; underestimating costs.
Frequently Asked Questions
What slope does a curbless shower need?
About 1/4 inch per foot to the drain, or 2 percent. One source gives 1/4 to 1/2 inch.
Is a linear drain required?
Not required, but common for curbless designs.
What is the ADA threshold limit?
Commonly cited as 1/2 inch. Verify with the ADA Standards and local code.
How much does a curbless shower cost?
Figures vary widely. Get local quotes.
Can a curbless shower leak?
Yes, if waterproofing fails. Use a bonded system and flood test.
Do I need a pro?
Yes, for structure, waterproofing and plumbing.
Conclusion
A curbless shower gives a clean, accessible look, but it depends on correct slope, a bonded drain and full waterproofing. Plan the floor, choose a compatible drain and membrane and confirm thresholds with your local code.
Budget for hidden costs and hire licensed pros. Done right, a curbless shower is a lasting upgrade.
Related guides
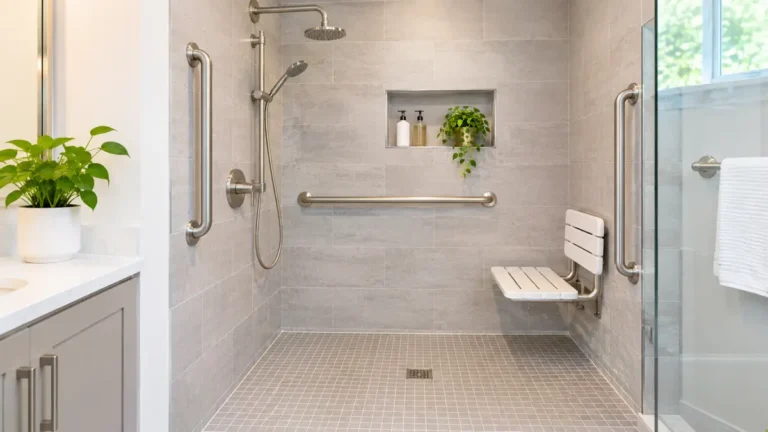 Roll-In Shower: Size, Threshold, Slope and What Accessibility Rules Usually RequireA roll-in shower is a shower with no curb, so a person using a wheelchair can roll straight in. Vendors…Read more →
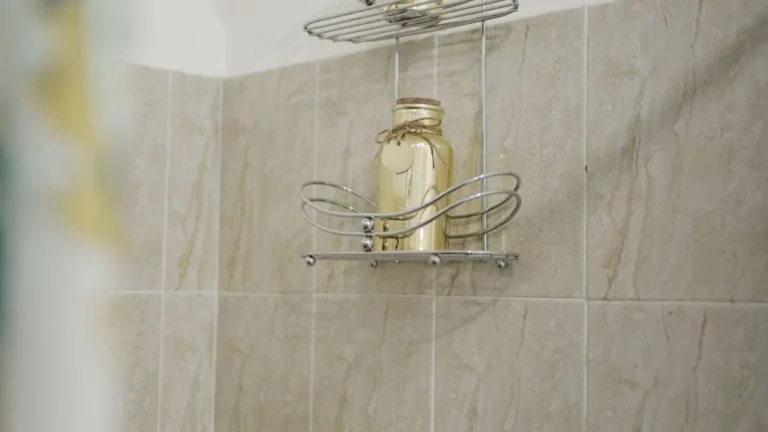 Shower Shelf: Tension Pole, Adhesive and Built-In Types, Weight and RustThere are three main types of shower shelf: tension-pole caddies, adhesive-mounted shelves and glued-in or…Read more →
 Camp Shower Guide: Solar Shower Bags, 5-Gallon Capacity, Heating Time, Water Temperature Safety and SetupQuick answer: a camp shower is a portable shower for camping, RV trips and beach days. The most common type is…Read more →
 Shower Squeegee Guide: How to Use It Daily, Prevent Mold and Hard Water Spots, Blade and Handle TipsQuick answer: a shower squeegee removes water from glass, tile and fixtures right after you shower, before it…Read more →